Inpatient Admission (IPD)
AndroHealthJune 17, 20262 min read
Manage the full inpatient journey in AndroHealth HIMS — admission requests, ward/bed reservation, consent, admission details, deposits, billing, and discharge.
AndroHealth manages the full inpatient (IPD) journey — from an admission request and bed reservation, through admission, consent, deposits and billing, to discharge. This guide walks the admission flow end to end.
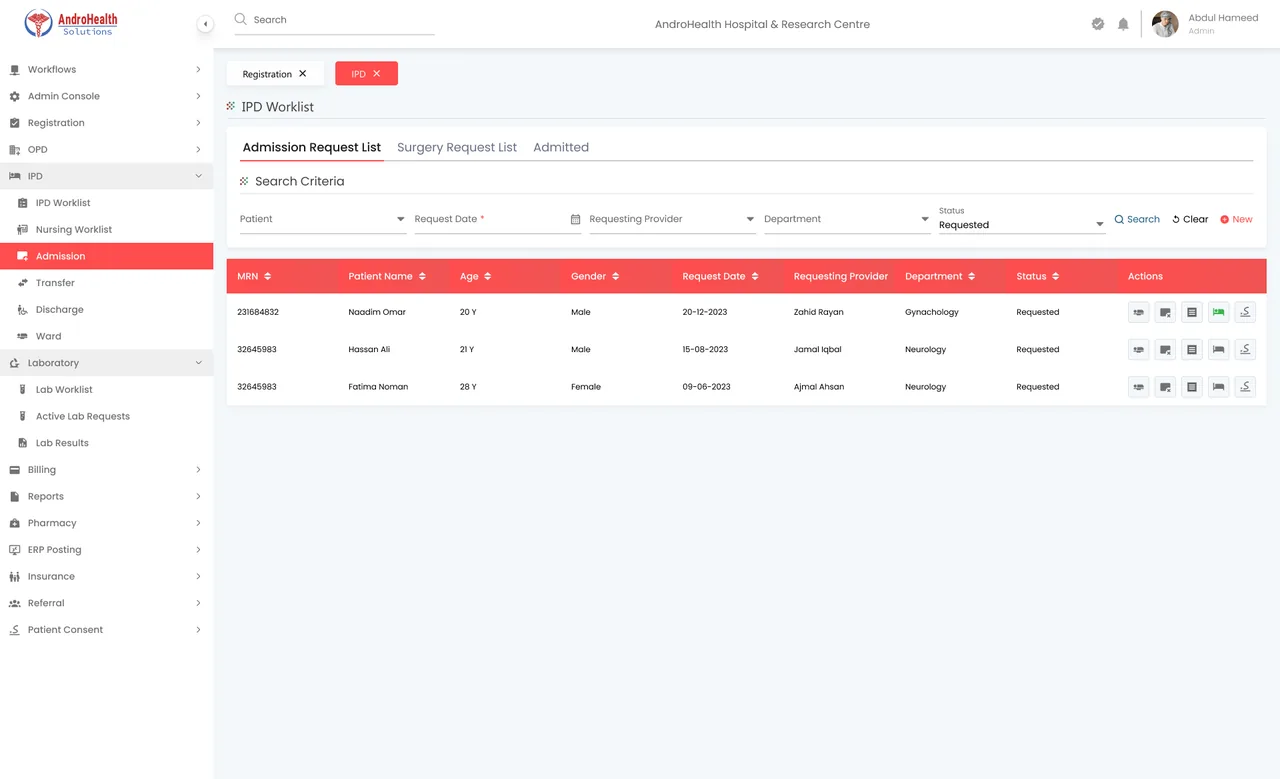
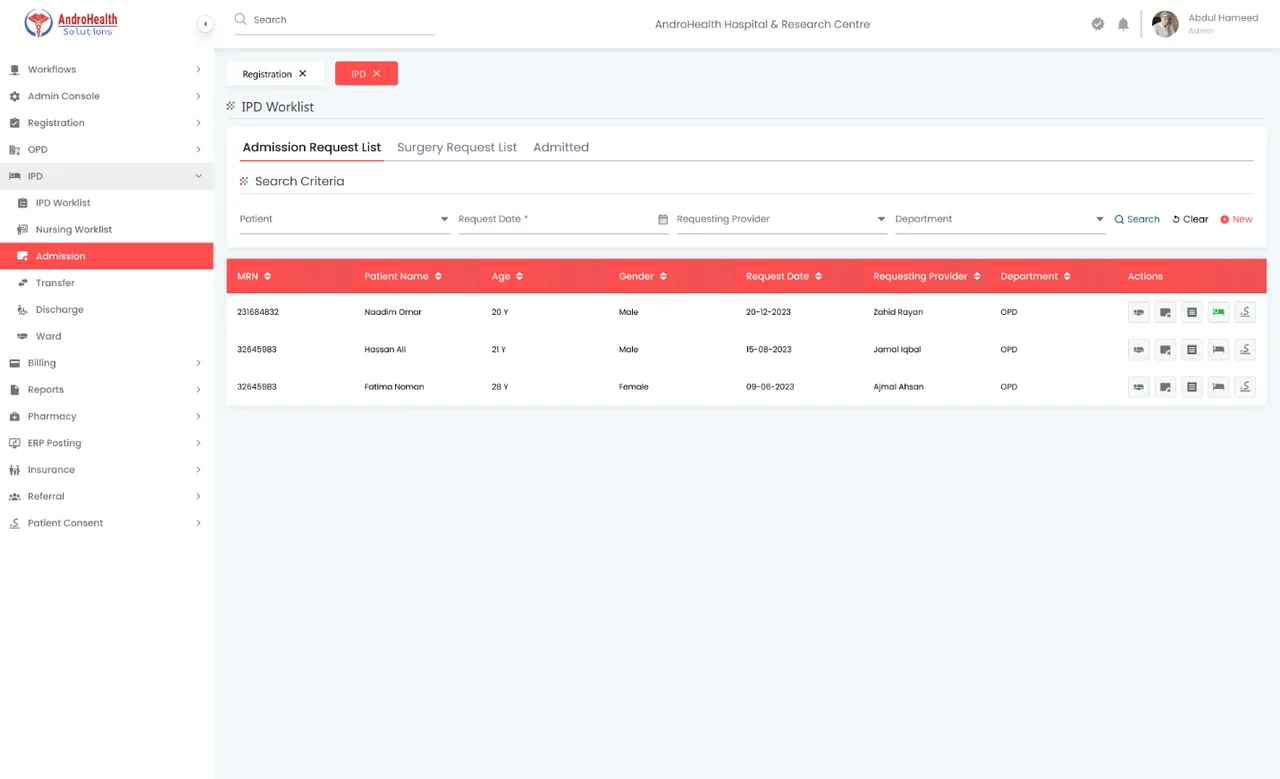
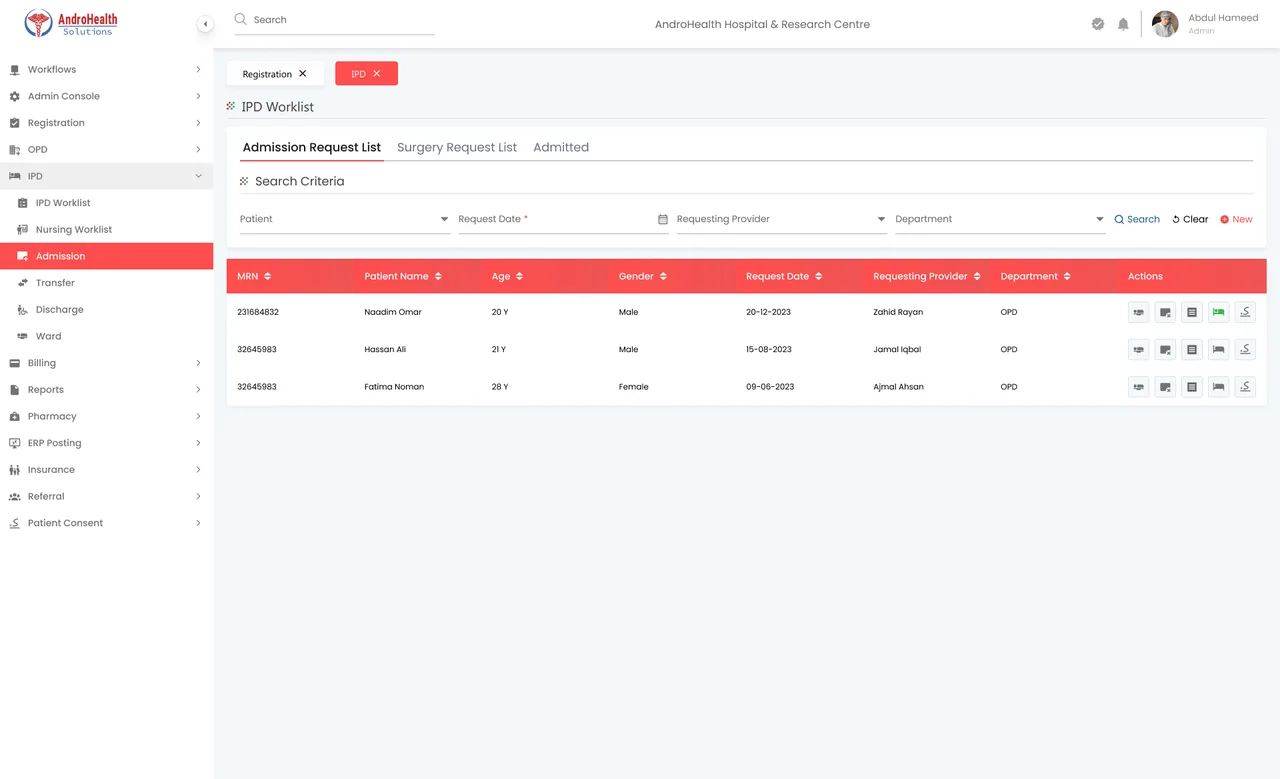
Go to IPD → Admission to open the Admission Request List. Each request offers a set of actions — reserve a bed, view details, sign consent, admit, or cancel.

From a request, reserve a ward bed or room for the patient. Only available (active, non-maintenance) beds appear for selection.
Open View Details to review the request, then capture the admission consent — using the same signing options as patient consent (e-sign, Sign It, or print-and-scan).
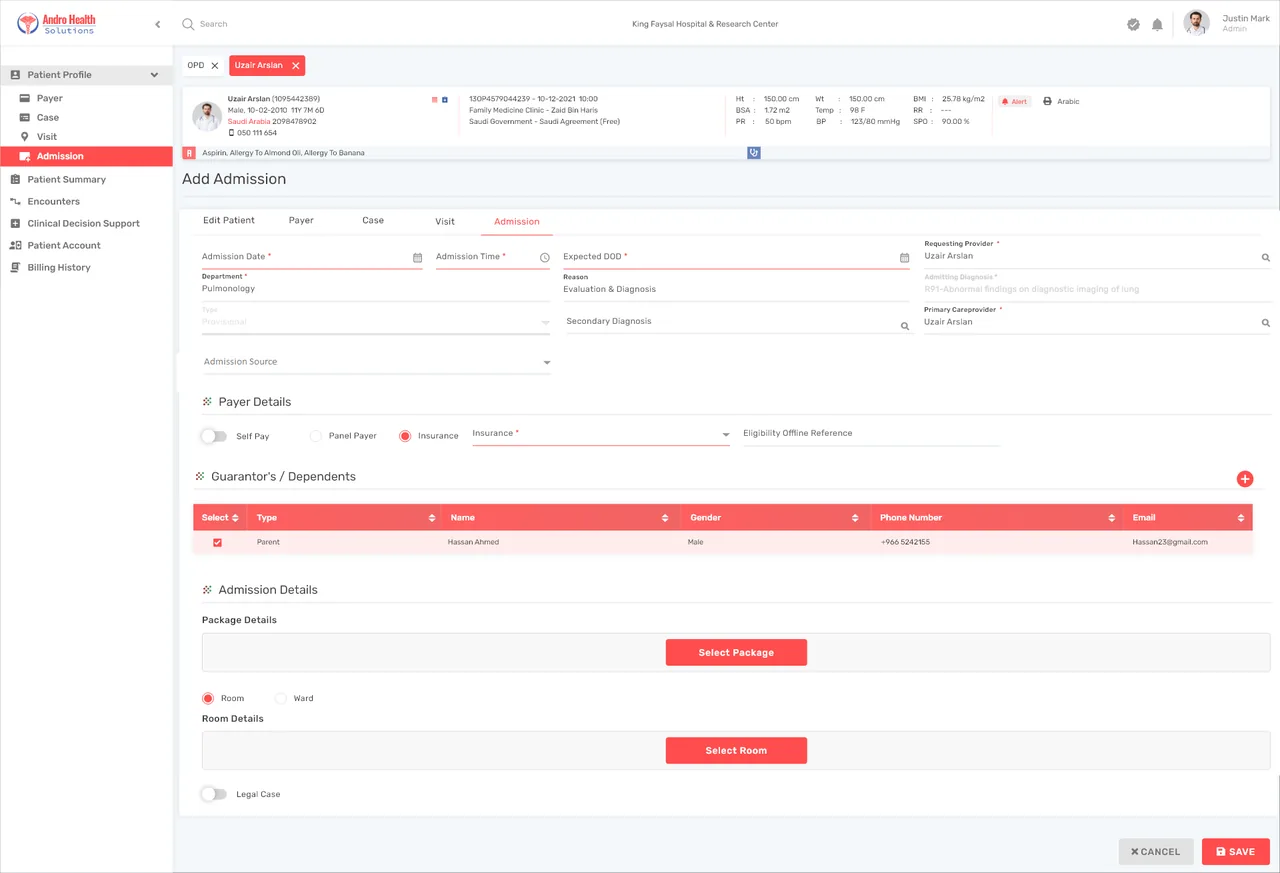
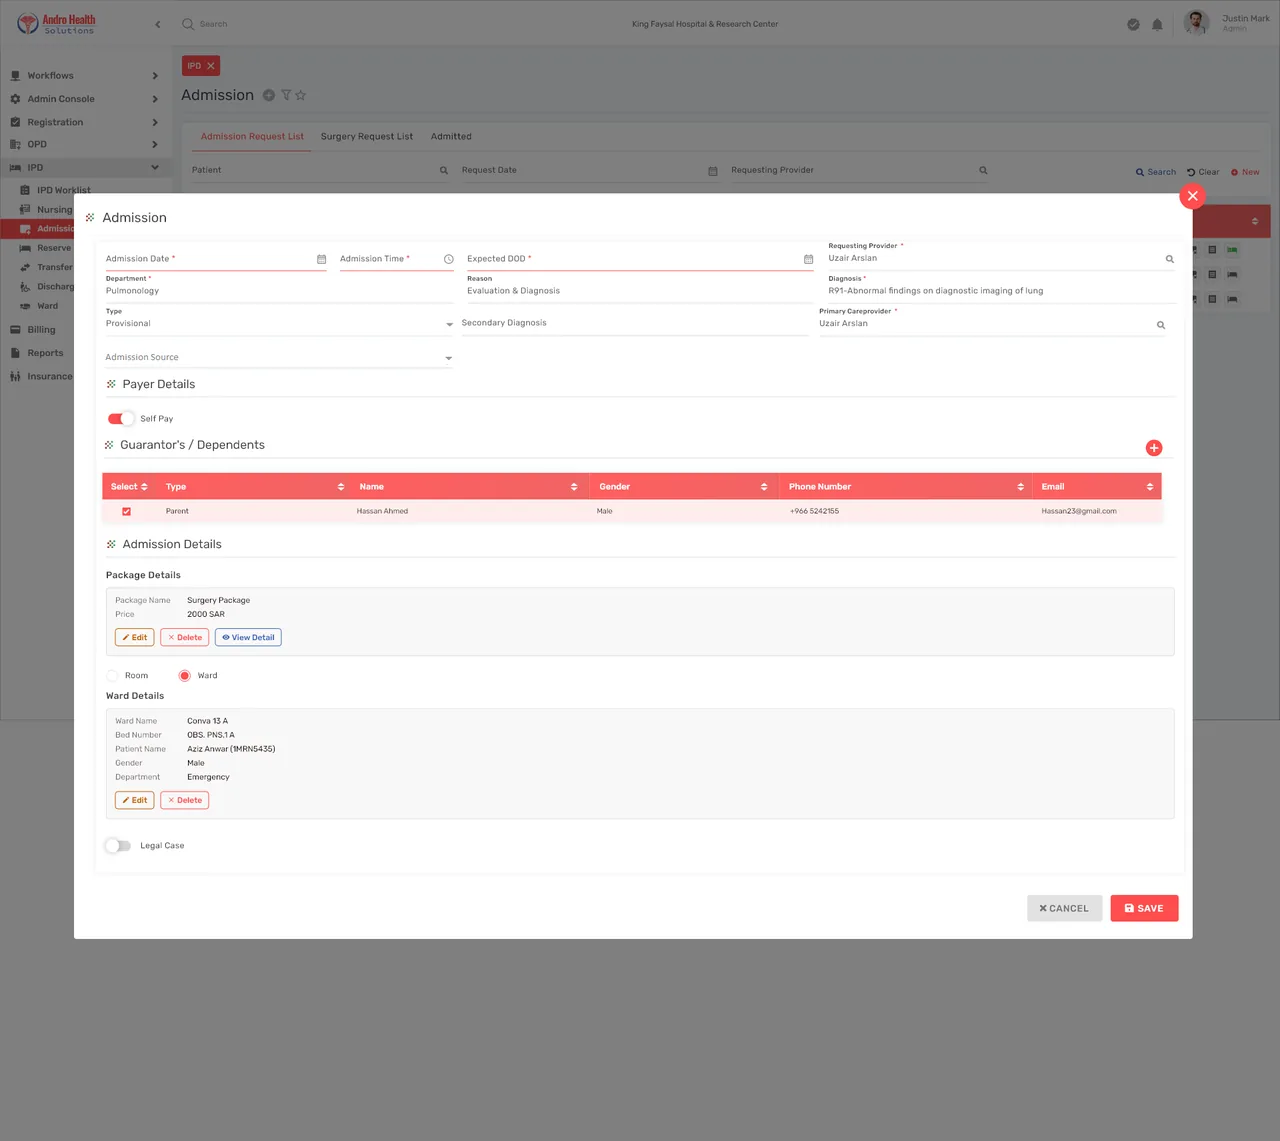
Open the case to add the full IPD admission details — admitting provider, ward/bed, diagnosis, and the other clinical and administrative fields for the stay.
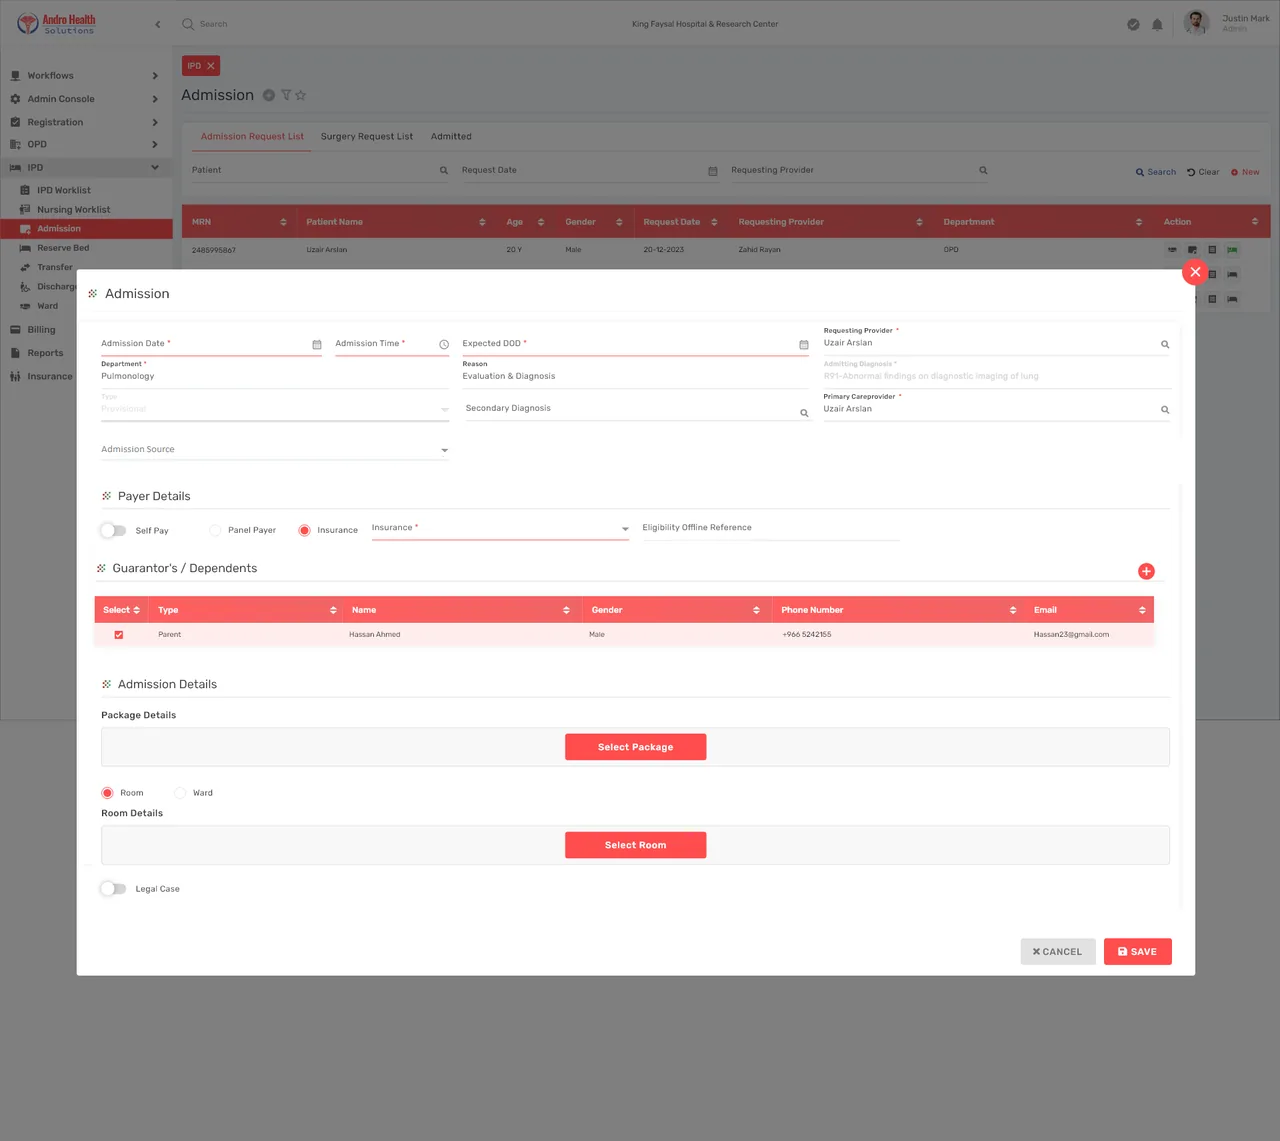
You can admit a patient two ways:

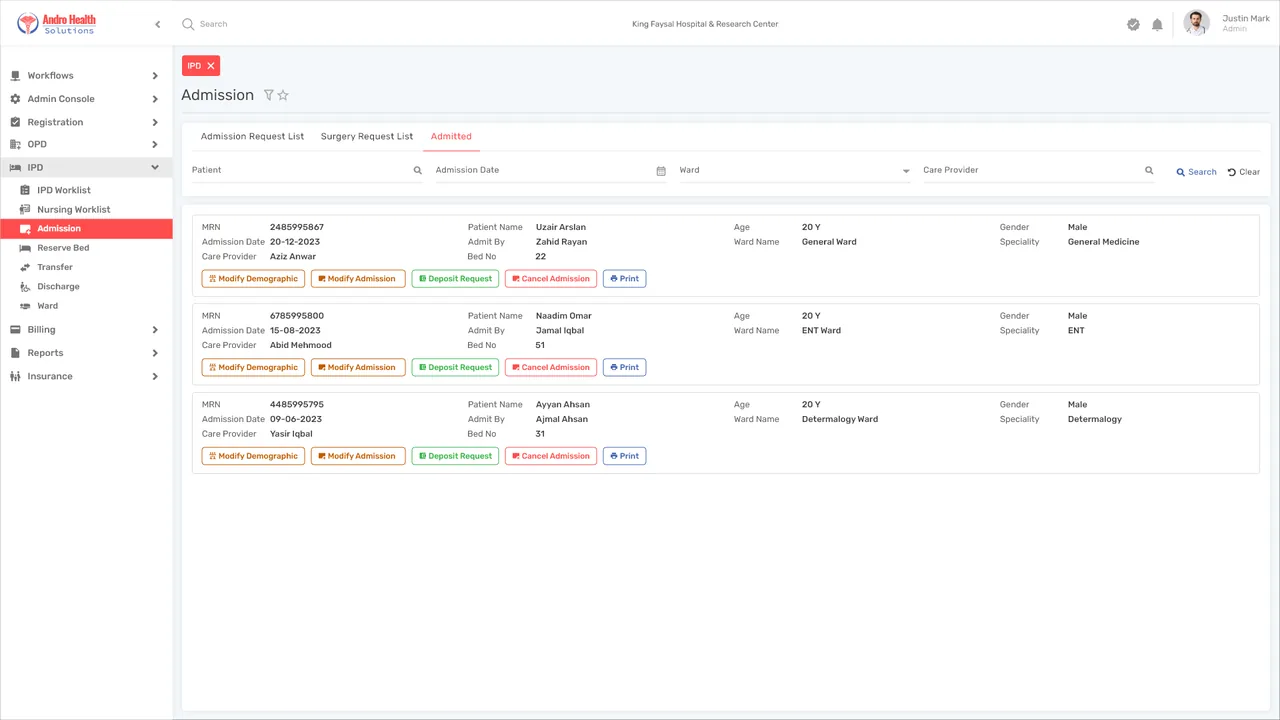
The Admitted List shows every admitted patient. From here you can modify demographics or admission details, request a deposit, view billing, print, and start discharge.
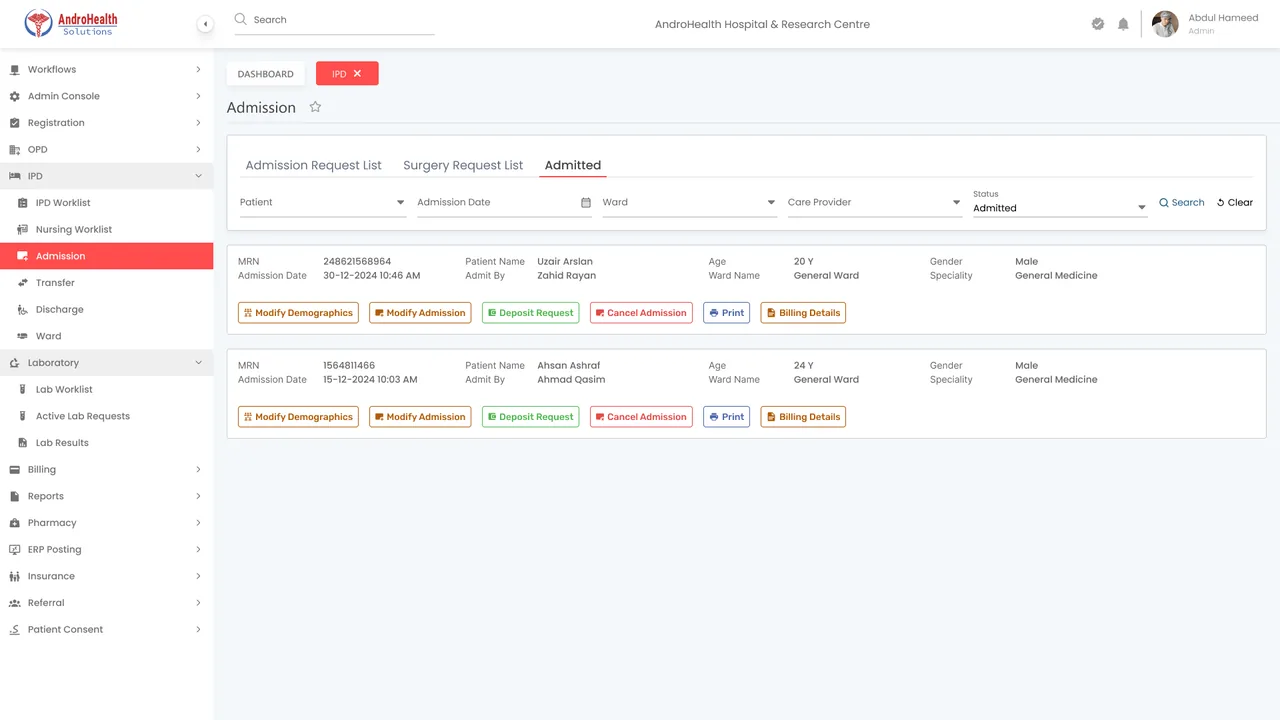
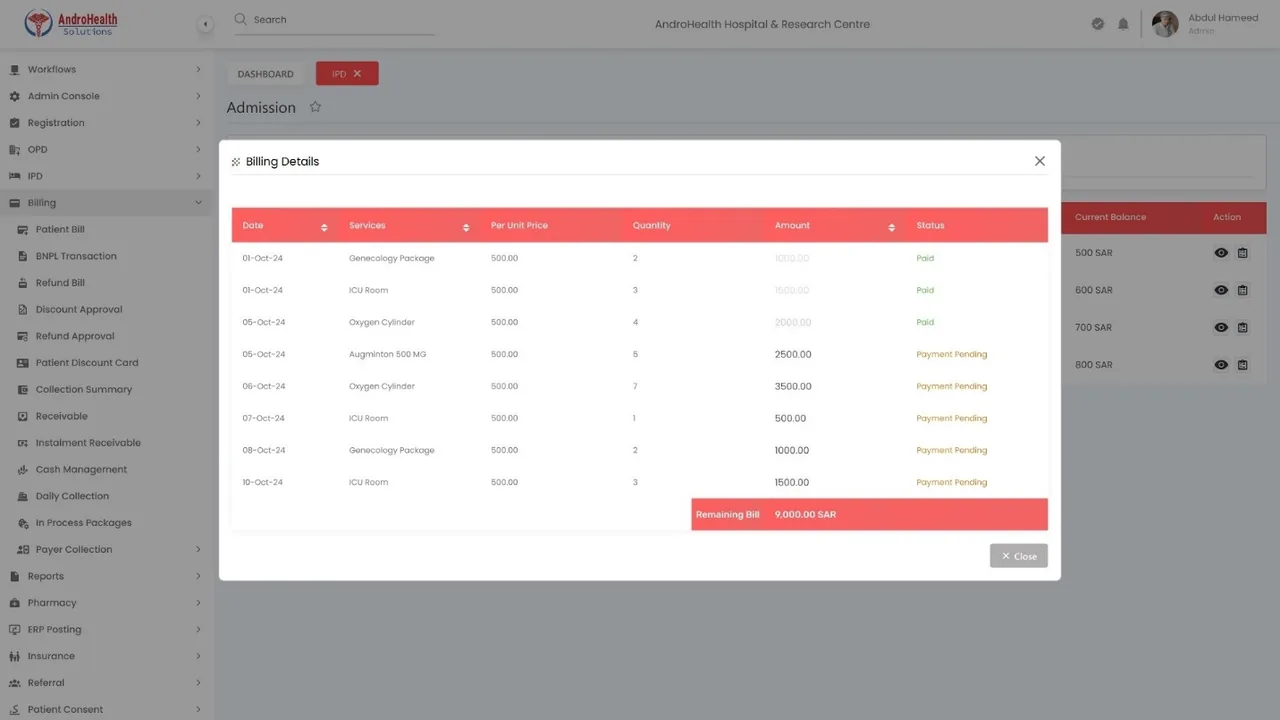
Use Deposit Request to collect an advance against the stay, and Billing details to review charges.

To end the stay, open the Discharge Summary from the admitted patient. You can also print the admission record.

From the Admission Request List, reserve a bed and complete admission — or admit directly from the request list or the patient profile.
Use Deposit Request against the admitted patient.
Open the Discharge Summary from the admitted patient to end the stay.
Was this article helpful?